(I wasn’t able to find a tutorial using free softwares for rendering, so..)
Purple Text = Mouse
Green Text = Keyboard
Greetings and Salutations!
Some of you may ask, “What are the free programs that we can use for render making”. In this tutorial, you may learn how to make a very simple render with the use of these free softwares:
If you have these programs installed, you are now ready for the tutorial.
Step 1
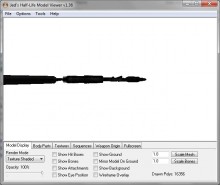
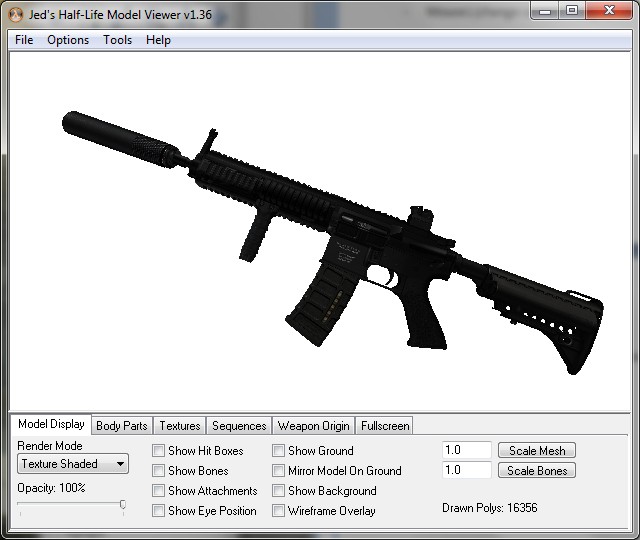
Launch Jed’s Half-Life Model Viewer (Note: make sure you change the background color to white or any color that doesn't blend with the gun by clicking Options > Background Color). Open your w_model file of your skin by clicking (File > Load Model). When you opened the file, it would look like this:

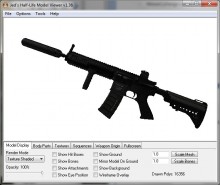
Angle the model at your desired look by using these functions:
Mouse1 (change camera angle)
Mouse2 (zoom in/out)
Shift + Mouse1 (reposition camera)
Ctrl + Mouse1 (reposition lighting)
Using these functions, you can make a decent visual of your skin. Reference image:

It’s time to take a screenshot of your skin. Maximize the window of Jed’s Half-Life Model Viewer, and press the PrintScreen button on your keyboard to copy everything you see on your screen as an unpasted image.
Step 2
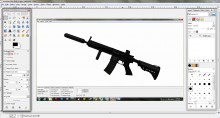
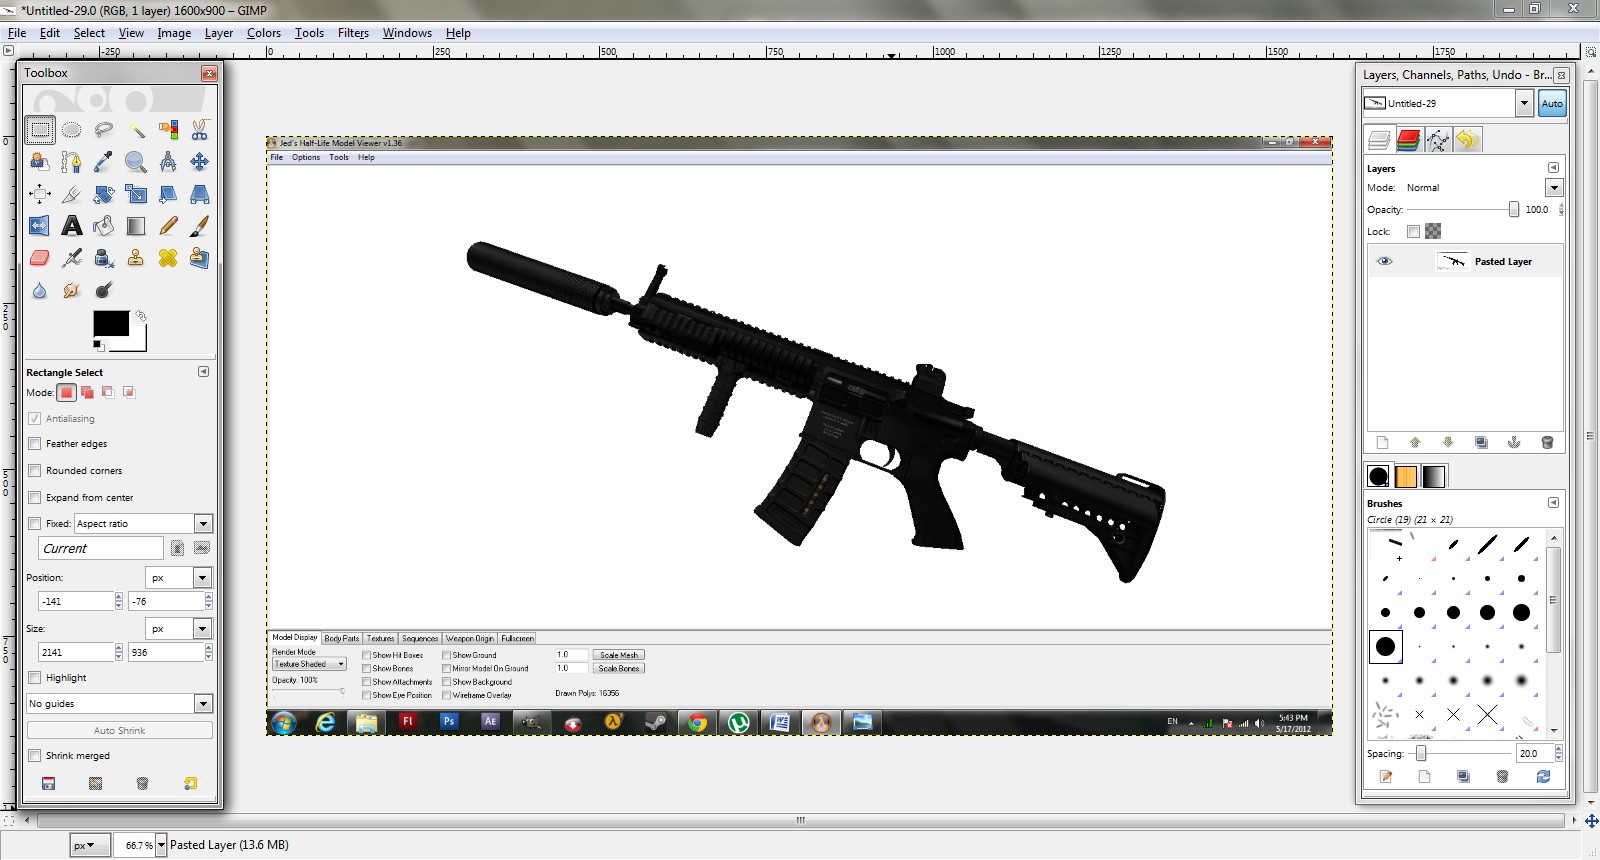
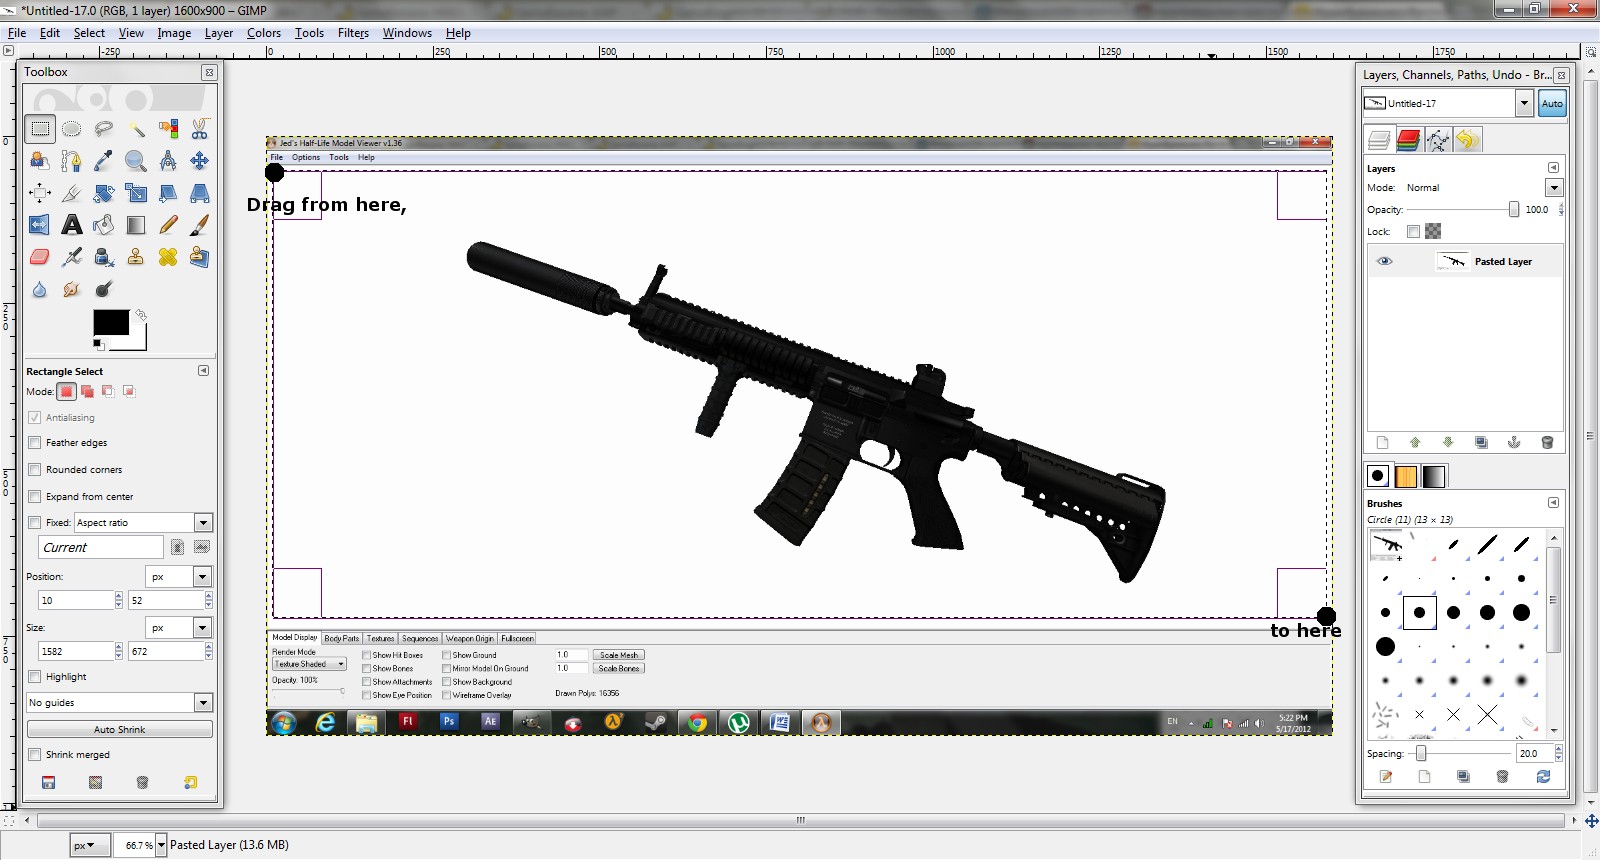
Launch GIMP (it might take a while). Once it has been successfully launched, paste your Print-Screened image by clicking (Edit > Paste) or pressing (Ctrl + V). Reference Image:

Using the Rectangle Select Tool on your Toolbox window, select the white background with the gun from upper left down to the lower right as you can see on the reference:

Copy the selected rectangle region by clicking (Edit > Copy) or pressing (Ctrl + C). After copying the the selected rectangle, close GIMP without saving/extracting the Print-Screened image (Note: DO NOT completely close GIMP), and then paste it again (Edit > Paste or Ctrl + V).
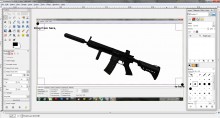
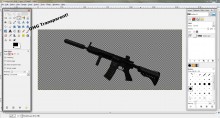
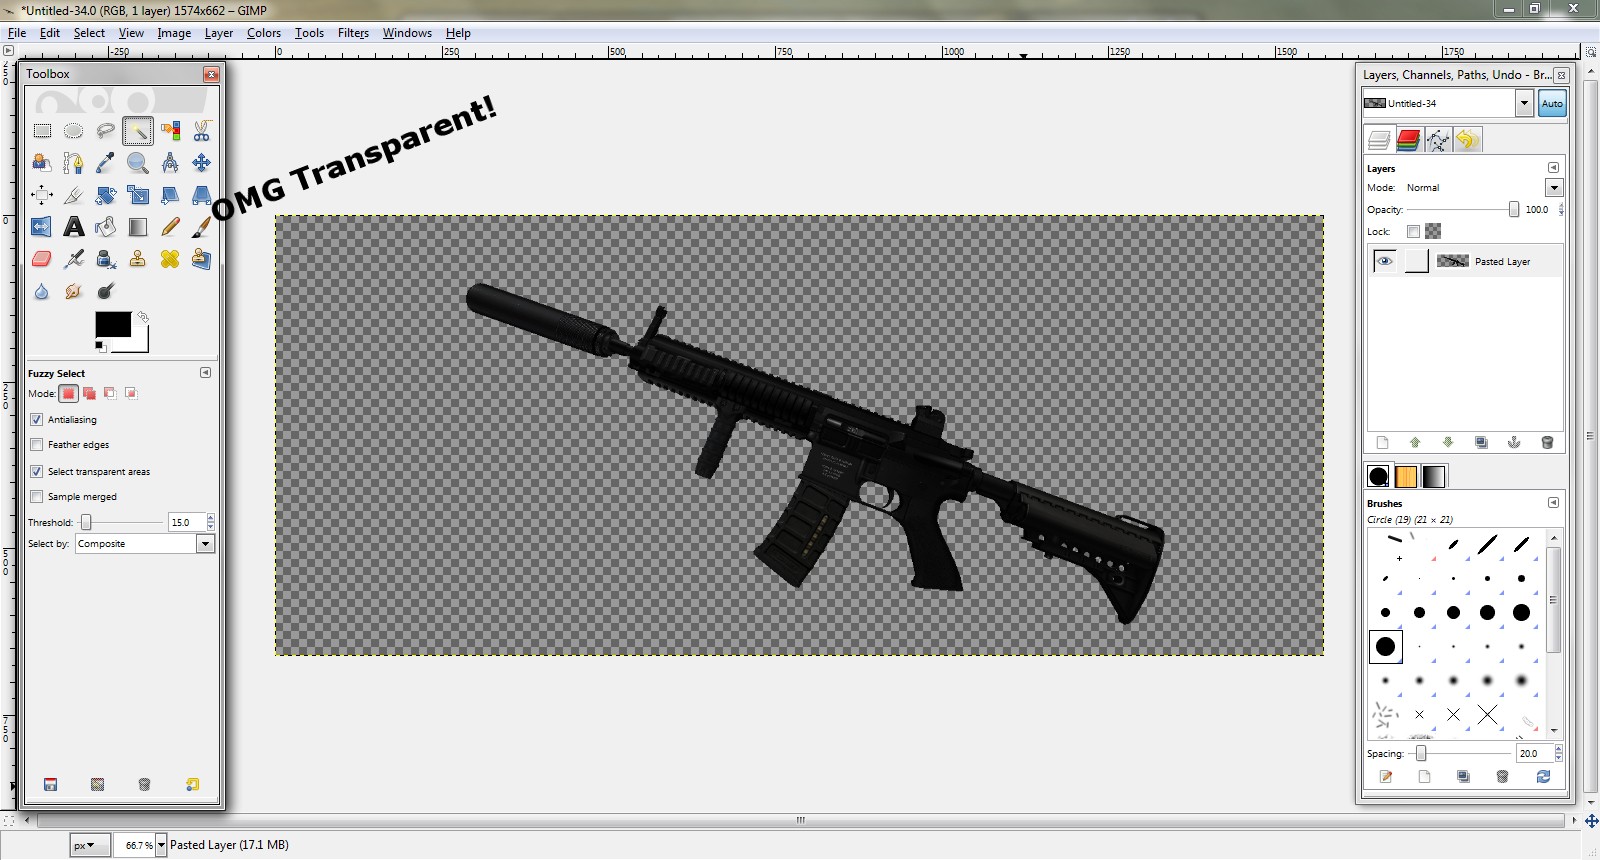
On the Toolbox window, equip the Fuzzy Select Tool, and remove the white background and the rest of the white parts in the gun to create transparency. By now your work would be like this:

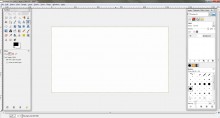
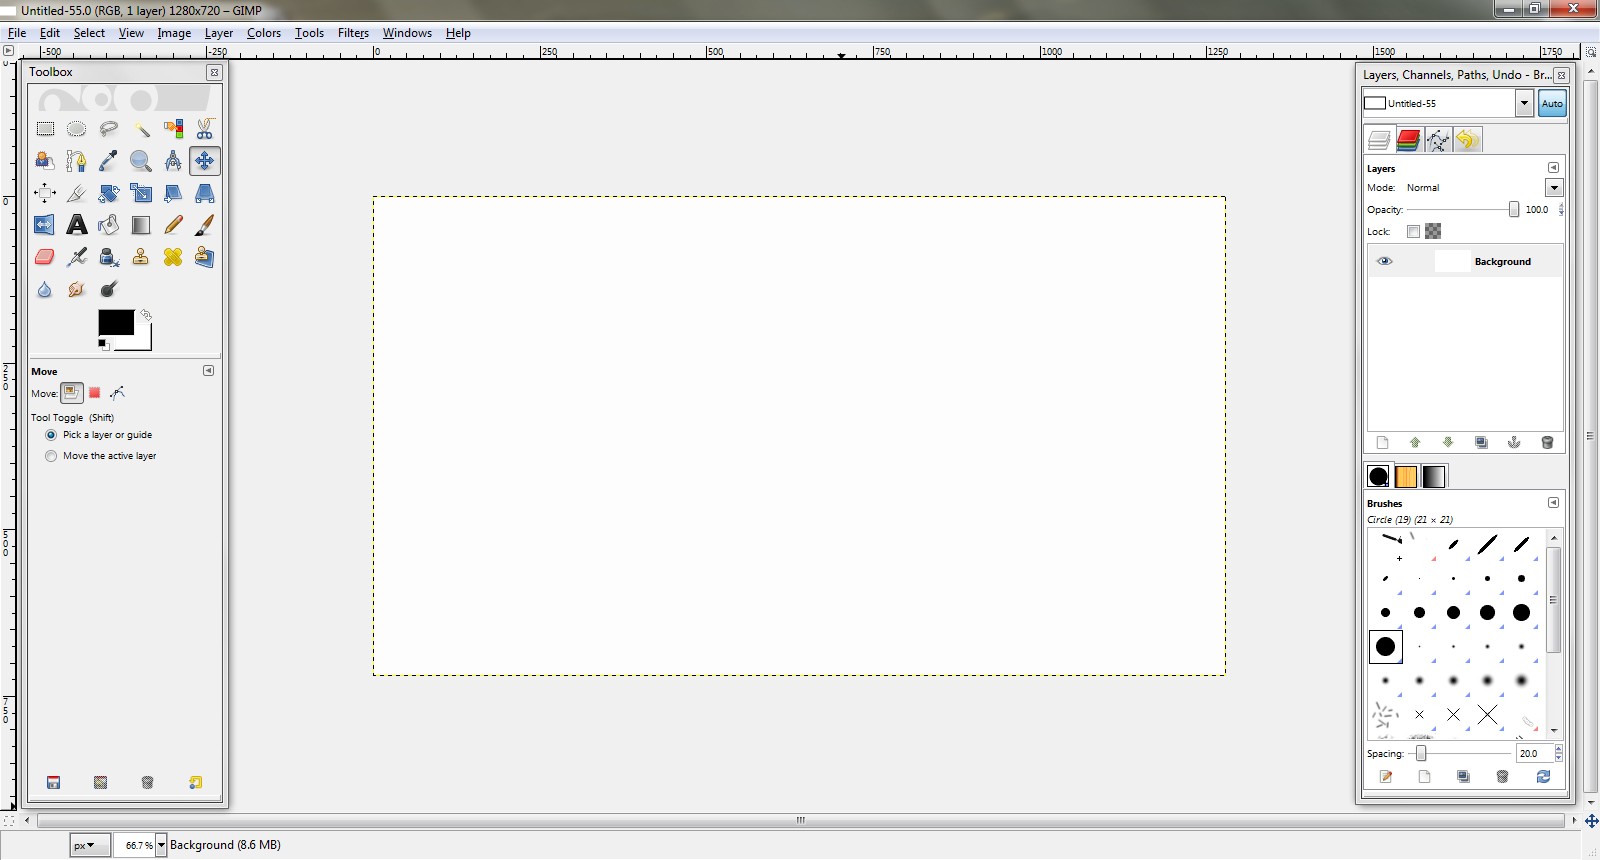
Click the Pasted Layer on the Layer window and copy it (Edit > Copy orCtrl + C). Close your work unsaved, but don’t close GIMP completely. Create your own dimension that you like by clicking (File > New). In my opinion, 1280 x 720 is the best one. Once you've made your chosen dimension of your image, click Ok. Reference Image:

After that, paste the copied image. When you have pasted the copied image, press (Ctrl + Shift + N) to place the pasted image in a new layer.
Step 3
Well on this part, you can make your own style of editing the image (meaning, you can do better), but I’ll just show you the list of basic functions and effects that I used for the quick final output, so here's the render.

Adjusted the opacity of the gun (location: Layers window above the layers)
Adjusted Brightness and Contrast (location: Main windowColors > Brightness-Contrast)
Blurred some edges on the gun's sides to smooth-en the edges (location: Toolbox window, Blur / Sharpen Tool)
Added Title Texts on the background (location: Toolbox window, Text Tool)
Added Drop Shadow (location: Main window Filters > Light and Shadow > Drop Shadow)
Shaded the background's sides with the use of Paintbrush Tool (location: Toolbox window, Paintbrush Tool) and Blend Tool (location: Toolbox window, Blend Tool)
Adjusted the Color Balance (location: Main window Colors > Color Balance)
If you have any questions or suggestions, kindly post them on the comments below. Now go out there and show 'em your rendering skillz!


.jpg)